Applies to
ApexSQL Audit, ApexSQL Monitor
Symptoms
The error message is telling you that the ‘PRIMARY’ filegroup is full. This article explains how to resolve this error is encountered when working with application. The error will prevent storing any audited or monitored data into a central repository database
Affected versions:
ApexSQL Audit 2015.04.1254 and newer
ApexSQL Monitor 2016.01.0109 and newer
Cause 1
SQL Server 2008 Express or newer is used for hosting the central repository database. SQL Server 2008 Express has the 4 GB database limit, while SQL Server 2008R2 Express or newer database size is limited to 10GB, so it is possible that auto growth cannot be performed as the maximum size of the ‘PRIMARY’ filegroup size is reached its maximum
Resolution 1
ApexSQL Audit
Perform archiving of the repository database
Select Home -> Archive database

Press the Archive button

Wait until you receive the message that the archiving process is completed successfully
Archiving process will rename the ApexSQLCrd database into a ArchiveCrd_YYYYMMDD_hhmmss and the new empty ApexSQLCrd database will be created
ApexSQLMonitor
Perform repository database purging to free some space in the ‘PRIMARY’ filegroup.
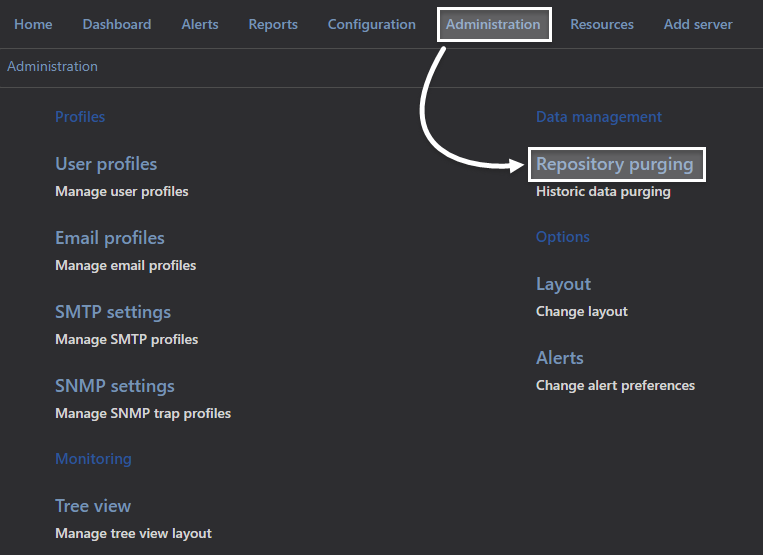
Select Administration -> Repository purging
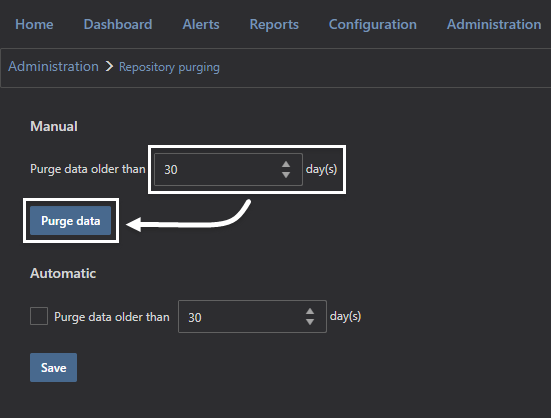
In the Purge data manual section, select the number of days that should be retained in the database (data older than specified number of days will be deleted) and press Purge data
Wait until the info bar appears with the message that data has been purged successfully

To prevent this error to occurs in the future, set the data retention policy in the Purge data automatically section
Check the Purge data automatically checkbox and set the number of days that you want to be retained in the repository database.
Press OK and from now on, application will regularly check for the data older than specified number of days and will purge them, thus preventing repository database ‘PRIMARY’ filegroup to grown to large
Cause 2
The repository database artificial maximum size limit is specified
Resolution 2
ApexSQL Audit and ApexSQL Monitor
- Open Microsoft SQL Server Management Studio.
- Right click on ApexSQLCrd/ApexSQLMonitor database and select Properties.
- In the left pane of the Database properties dialog box, select Files.
-
In the Autogrowth/Maxsize column select the “…” button noted in the image below
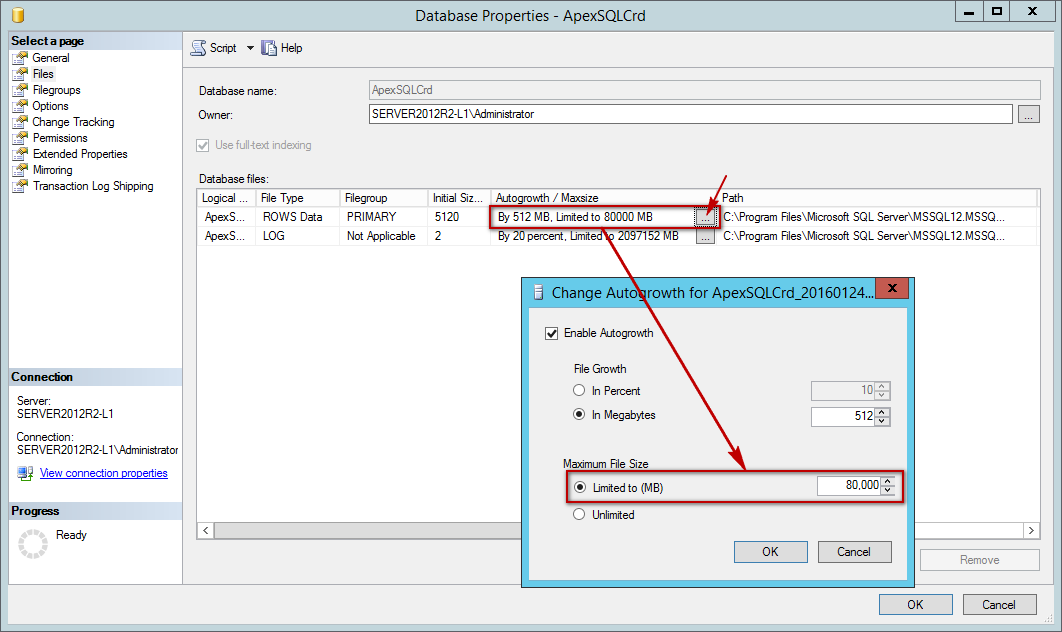
- In the Change Autogrowth dialog, select the Unlimited radio button under Maximum File Size
- Press OK
-
Now, the Maxsize should show Unlimited

Cause 3
The NTFS volume that hosts the ‘PRIMARY’ filegroup datafiles of the central repository database (ApexSQLCrd) is heavily fragmented, which prevents the SQL Server to find and allocate large enough free space in the single chunk for the autogrowth process to be executed
Resolution 3
ApexSQL Audit and ApexSQL Monitor
To resolve this issue
- Stop SQL Server
- Defragment the target hard drive using the Windows built in defragmentation tool or any third-party tool for that purpose
- Start SQL Server
Cause 4
There is enough free space on the hard drive, but disk quota set at the OS level reached the limit, thus preventing the autogrowth of the ‘PRIMARY’ filegroup of the central repository database (ApexSQLCrd)
Resolution 4
ApexSQL Audit and ApexSQL Monitor
Disable disk quota limits for a hard disk
This will disable disk space quota usage limits on the selected NTFS hard disk for all users
- Open the Computer window, then right click on the hard disk volume affected, in example C:, where all quota limits for all users will be disabled, and select Properties from the context menu
- If prompted by UAC select Yes
-
In the Properties dialog, uncheck the Enable quota management checkbox, and press Apply (OK)
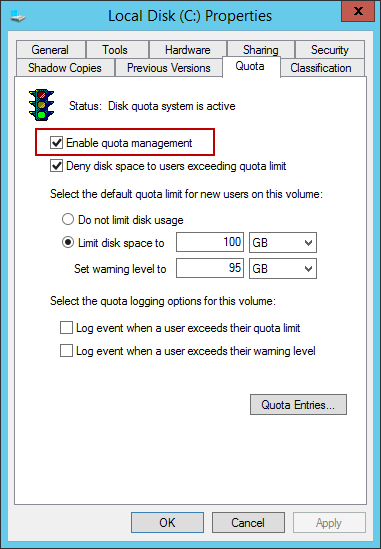
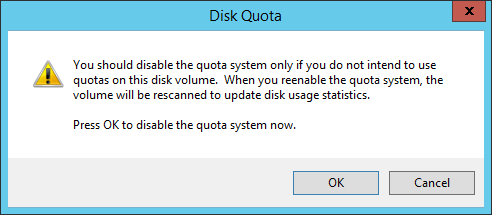
-
When warning dialog pops up, press OK
- Press OK in the Properties dialog